Thursday, October 28, 2010

Super Cool T-Shirts

Ok, so I've seen tutorials all over the web about freezer paper stencils.  Well, I decided to try my hand at it today.  I don't know why I can never start off with something easy.  I go straight for the gusto and pick kind of intricate designs.  Oh well, honestly I think they came out pretty darn well - especially for my first try.  The boys LOVED them!  We have already come up with ideas for our next t-shirts.  One wants his face the same size, but with a tiny cowboy hat, tiny body and a lasso.  One wants a guitar added, and the other wants a tie under his face (thinking I'll add a fabric tie applique!).  

Enjoy!


Friday, October 22, 2010

Blog Hop Time!

Please excuse the lack of posts this week!  I'm super busy working on decorations, a pinata, cakes, etc for my son's Lego themed party tomorrow.  I'll take TONS of pictures and do a post all about it next week.  In the mean time, lets have fun blog hopping!


Monday, October 18, 2010

Lego Party - Part 1

Tomorrow is a big day for my middle son - he will be 
6 years old!  
He's still young enough that this is a HUGE deal!  He told me today that starting tomorrow, he'll be taller than all the other kids in his class that are only 5.  
He also thinks that on his birthday AND on the day of his party he's allowed to 
boss all of us around!  
We'll see how that goes over with his big brother.  ;)

This year, we've decided on a Lego theme for his party.  
So this week, we'll be making the decorations for his party, 
snacks, goody bags, and of course the cake!  
Last week, I sent out the invitations: 


I couldn't find any invitations to purchase that we really liked.  Most of them were based around a certain character or Lego video game.  
I wanted something less specific.  
I searched online for high resolution images to use to make the invitations, but really didn't find anything that I could easily use.  

Finally, I just headed upstairs to the game room and started building.  I spelled out "PARTY
as best I could, snapped a picture, and in Pages, added the text.  
I printed them out at home on 4x6 photo paper and sent them to class!
My printer is pretty economical when it comes to printing photos - 
I think total, I spent less than 10 cents per invitation!


Today, while the older boys were in school I decided to get a jump start on decorating!
I bought two bags (72 pieces each) of assorted colored balloons.
Most of you have seen those super cute balloon wreaths online - well, I thought that would be perfect to use for birthdays in my family!
I'll tell you what won't work for attaching balloons to a foam wreath form: hot glue and staples.  The hot glue won't stick to the balloons at all and my staples weren't long enough to hold the balloons in.  
I ended up using straight pins from my sewing table!  
I pinned two balloons together and just filled up the wreath form.

 I surprised the boys with it today.

I plan on getting up pretty early to decorate the house and van to surprise the 
Birthday Boy 
with balloons and streamers in the morning.  He's requested a special breakfast - blueberry muffins, bacon and eggs, and fruit.  
I'll also be baking his class a special batch of cupcakes as a treat!  

As the week goes on, he'll help me with the party decorations - a pinata, JUMBO Lego blocks, a banner - all kinds of fun stuff!

Check back through the week for more Lego Party ideas!

Friday, October 15, 2010

Fun Fall Food

I adore fall!  I love the leaves changing, the crisp cool morning air, 
the decorations and most of all - I love the food!  
Every year I look forward to changing up my menu for the cooler weather by adding
soups, casseroles, and more baked goods.

Another fun thing to add to my list is cool Halloween inspired food. 
This year, I'm trying to stay away from all the candy and focus more on savory
food, as well as some slightly healthier versions of our favorites!

Here are some recipes that are on my list to try!

These cool Pizza Mummies were found on  Family Fun


Oooh, creepy Carrot Fingers, also from Family Fun!


I love these spooky spider Mac & Cheese Bites from Celebration!

How about these yummy looking Pumpkin Chocolate Chip Muffins 


Thursday, October 14, 2010

Teaching What My Mother In Law Didn't...

Ok, today's post is going to be a bit different.  I've posted tutorials before that were for YOU - my amazing readers.  I'm going to assume, though that most of you are women.  And as a woman, you probably already know how to do the task I'm about to teach.  So this tutorial is for men.  And boys.  Especially my man and my boys!

Changing The Empty Roll Of Toilet Paper

THIS is what I found when I went into the bathroom this morning.
It's also what I find at least twice a week!  This is an empty toilet paper roll.
An empty roll is NOT what I want to find when I need to "go!"
I thought maybe dh put a new roll on the back of the toilet...


Are you KIDDING me?!  
Really?!  UGH.  


Ok, to fix this problem I'll need you to pay close attention.
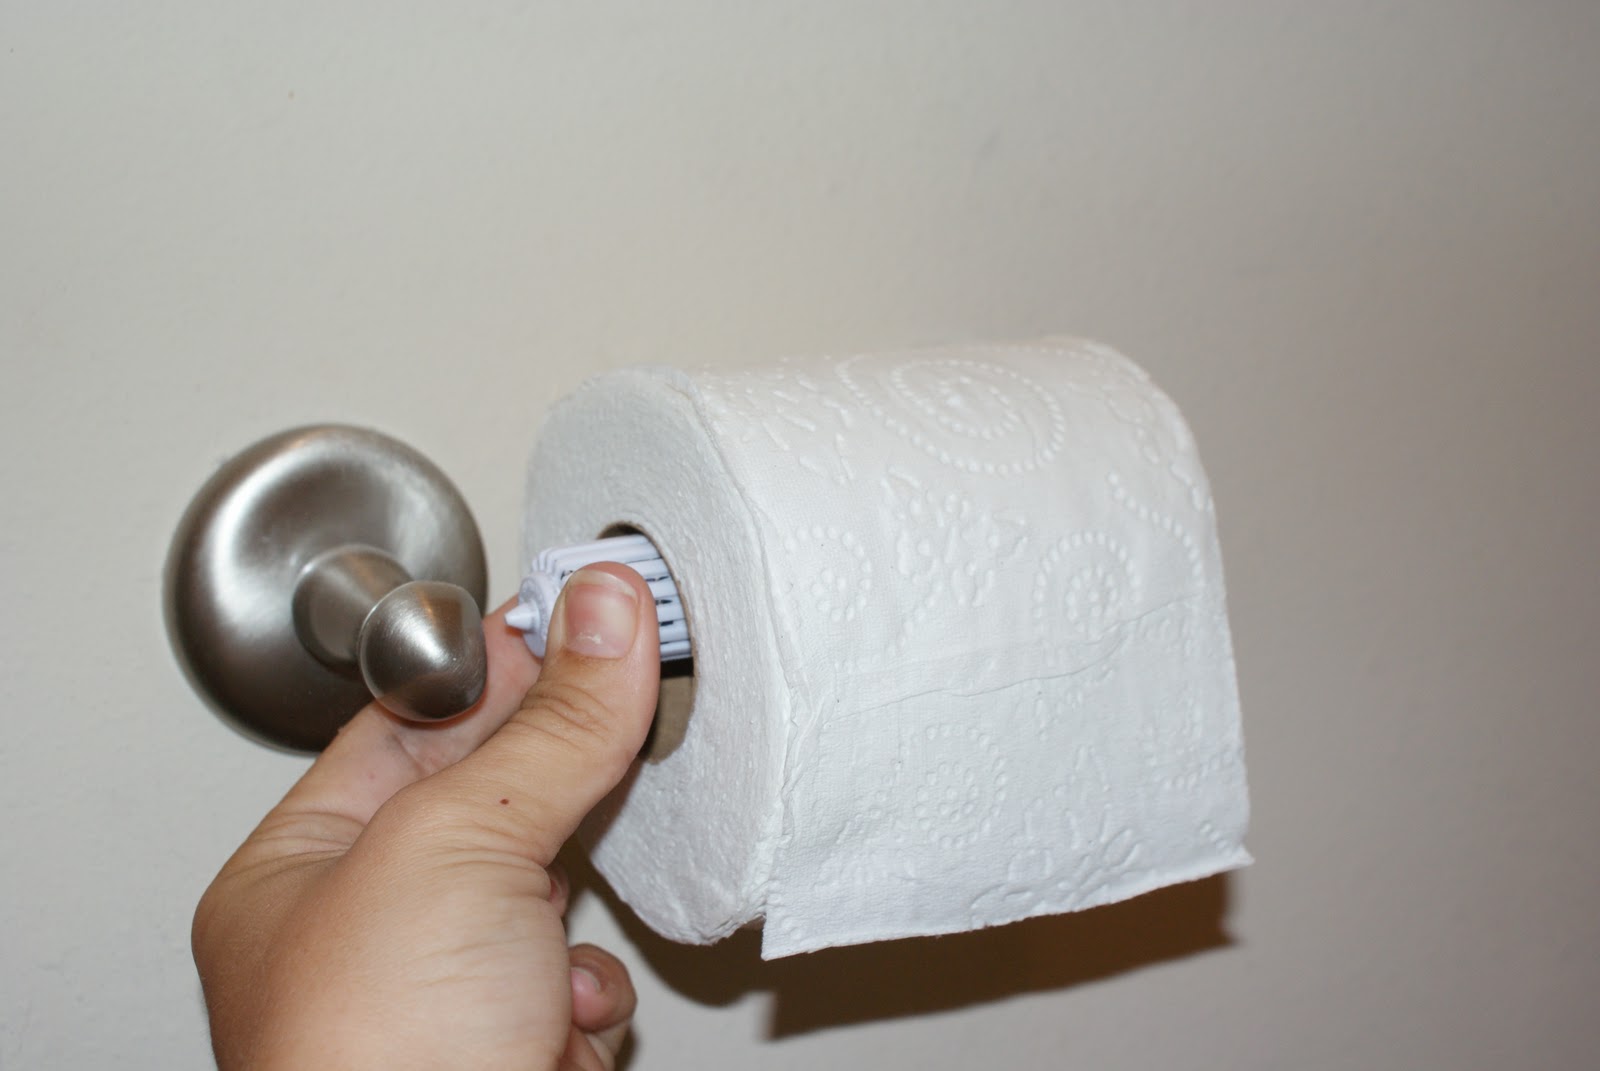
Step 1: remove old roll by pushing the spring loaded toilet paper rod to one side.

Step 2: Remove cardboard roll from rod.

Now this is important and cannot be skipped.  
Step 3: Place empty cardboard roll into trash can.  Empty roll cannot be left on back of toilet!

Step 4: Get new roll of toilet paper.
*Note* The woman of the house will usually hide these in crazy places - 
like in a bathroom cabinet, so search high and low.  

Step 5: Slide new roll onto the toilet paper rod.

Step 6: Replace rod into toilet paper holder.  This is just like Step 1, only in reverse.

If you are successful in the above steps, THIS is what your finished product should look like!
Congratulations, you've just completed a little task that will make things easier for everyone!

*Note* For extra points, fold the first square under into a 
little arrow like they do in hotels.  

See how this roll almost has a heavenly glow?  
The world is a little bit nicer when the lady of the house does not have to 
ALWAYS replace the toilet paper roll!


Please feel free to share this with as many boys and men as you can.  I'm thinking about printing this into a step-by-step guide for my husband and sons.  Maybe one for each bathroom?


Monday, October 11, 2010

Ghastly Easy Ghosts

Sorry for the delay of this little tutorial - we spent last Friday in the ER with my oldest, getting stitches!  Of course being a doting, guilt-ridden mama comes first.  I know you all understand!  So without further delay:

Ghastly Easy Ghosts!

You'll need cheesecloth, starch and items to form the ghost shapes.  
We used toilet paper rolls, foil and sticks.  
*Most directions for these ghosts call for liquid starch, which I could not find.  I thought the spray starch worked extremely well!!!*

Cover your work surface well - the starch is a mess to clean up if it seeps through!


Now make the form that will shape your ghosts - 
use pretty much anything you have around the house!


Now cut the cheesecloth and drape over your form.  
Spray with starch.


Repeat with layers of cheesecloth until you get it as thick as you like. 
I think we did about five layers - I wanted them to still be a little transparent.
Spray, spray, spray that sucker until it's pretty wet.


Allow your little ghosts to dry.  
I am the queen of impatience, so I brought out the blowdryer. ;)  
Carefully pull out whatever items you've used to make the form.


Then allow your little cuties to model their ghosts!


This is how I've displayed them.  
I think we may make more though and hang them with fishing line throughout the house!


I'm linked up here with other fun crafts:


Party Button

Monday Blog Hops

Today I'm participating in these bloghops! Have fun, make new friends!


Photobucket

LinkWithin

Related Posts with Thumbnails