Wednesday, March 23, 2011

Domino Sports Necklace - Tutorial

As I've mentioned recently, it's baseball season.  We are in full swing now, which means The Chief and Con-Man usually have two games each, every single week.  I LOVE this!  I'm definitely a sports mom.  Not one of the crazy ones that's way too tough on her kids, or expects them to go pro.  I just love watching them play - whether it's baseball, basketball, football - whatever.  If they are having fun, I'm having fun watching in the stands.  I clap and cheer more loudly than I probably should, but I'm just such a proud mama!

Being a sports mom, I absolutely dress the part.  If I can get a team shirt, I wear it.  If not, I've still got to show my support somehow!  So that's why I decided to make myself a cute Domino Sports Necklace with my boys' names on it!
*Note - this necklace is for one of our team moms - I would NOT put my kiddo's name out there for potential crazies to see.*


Here is the easy as pie tutorial.  If you make one, I'd LOVE to see it!

Domino Sports Necklace

What you'll need: 
Domino
Chain necklace
Bead (big enough for chain to go through)
Mod Podge & brush
Sealant
E-6000 or other strong glue
Emery board
Scrapbook paper


Directions:
1 Print child's name on scrapbook paper

2 Trace around domino & cut out

3 Apply Mod Podge to domino with brush

4 Smooth paper onto domino

5 Use emery board to sand off any edges hanging over sides

6 Seal with spray sealant (OUTSIDE) and allow to dry

7 Apply extra layer of Mod Podge - I seal 1st because I use an inkjet printer and sometimes the ink will run if I apply the Mod Podge directly over the paper

8 Seal again, allow to dry

9 Apply bead on side of domino using E-6000.  Follow package directions to get the strongest bond.  Allow to dry.


10 Thread the chain through the bead and show your sports mama pride!

The great thing about this necklace is it's so versatile!  Since I have two boys playing, I put one name on each side and simply flip the necklace around depending on who's playing!  I'm also making some domino necklaces with pretty, girly paper and rhinestones!  

These are SUPER affordable.  I had the glue, Mod Podge and sealant here, so total I spent less than $2 on each necklace!!!  I think they'd be fun to make with the girls during a craft night.

Find me here:

Photobucket


Running with Glitter


Tuesday, March 22, 2011

Sorry for being soooo lazy!

Boy do I feel guilty!  I cannot believe I've been neglecting my blogs and my readers so badly lately!  I'm sorry, and I promise to do better starting.....now!

My older boys were out of town last week for Spring Break (went to visit family), and I was totally out of my routine and busy with the little guy.  I'll try to get a cute little tutorial up tomorrow - you guys are going to love it.  (I hope!)

Friday, March 11, 2011

Prayers and Support for Japan

Mornings in my house are always a hurried mess of running up and down stairs for school clothes, cereal flying across the table, and school papers being signed.  For some reason today, I took time to turn on the television to catch the news for a few minutes.  My whole morning stood still.  

Breaking news.  

Almost always scary words on tv.  Earthquake in Japan, devastating tsunami followed.  

The kids and I were glued.  We watched the news clips over and over in shock.  I told the boys that we needed the pray for these poor people and of course they agreed.  My boys are young - 8, 6, and 3.  They were filled with questions - why did this happen?  Where will those people live?  Did people die?  Did moms and dads die?  Kids?  I hate that children often have to see these disasters and learn hard truths about life.

During these natural disasters, it always warms my heart to see how people come together to help strangers.  People they've never met, and probably never will meet.  I think it really shows you the general love we all have for other people.  I want to show you just a couple of ways that you can help during this tremendous time of need.  You can donate directly through the American Red Cross - they make it so simple to even designate where you want your money to go. 

There are also some very generous shops on Etsy that have decided to donate a portion of their profits to help the many many victims.  I have even added a special item to help in this effort.  

Please help in whatever way you can, especially in prayer!

Tuesday, March 8, 2011

Blog Swap with Running with Glitter!

Alright guys - today we are doing things a little differently!  I'm doing a blog swap with one of my favorite new blogs.  You guys are going to love Kelly and all the cute things she does on her blog!  After you see this cute tutorial, please head on over to Running with Glitter and show her some luv!


Thanks for having me on your great blog! You have such great ideas and are very inspiring.

I'm Kelly form over at  Running With Glitter. I'm a mommy to two very busy and children and I'm always working on some sort of a project. My blog is a new blog and I have so many ideas I can't wait to share.

Today I'm going to share a little girly love. My daughter is 100% girl and hair pretties are mandatory in our home!


St. Patrick's Day Shrinky Dink Shamrock Korker Tutorial


 Who would want to pinch my little cutie pie?! Well just in case... I thought I'd put together a super cute hair pretty for Aubrey Rose.
 Making korkers and Shrinky dinks in the same project makes me smile. I'm a nerd, I know.. But hey, here is a little tutorial so you can be a nerd with me.


To make the korkers you need:
1/4 inch Dowel Rods. You can find these pre-cut in a package of 12 at Hobby Lobby
Wooden clothes pins.
3/8 inch Grosgrain Ribbon
Liquid Starch
Oven
Fire

 Take your ribbon and pin it to the clothes pin to hold it in place. 
 Start Twisting making sure that your ribbon is not overlapping and you don't have any gaps.  After you do it a few times you will be a pro and it will go super fast!
 Secure your Ribbon at the end with the other clothes pin
 So simple, right?! Bake at 200-275* for 20-30 minutes depending on how your oven runs. 
Remove from oven. Spray lightly with starch and let cool. 

Remove from dowel rod and see how cute these are! 


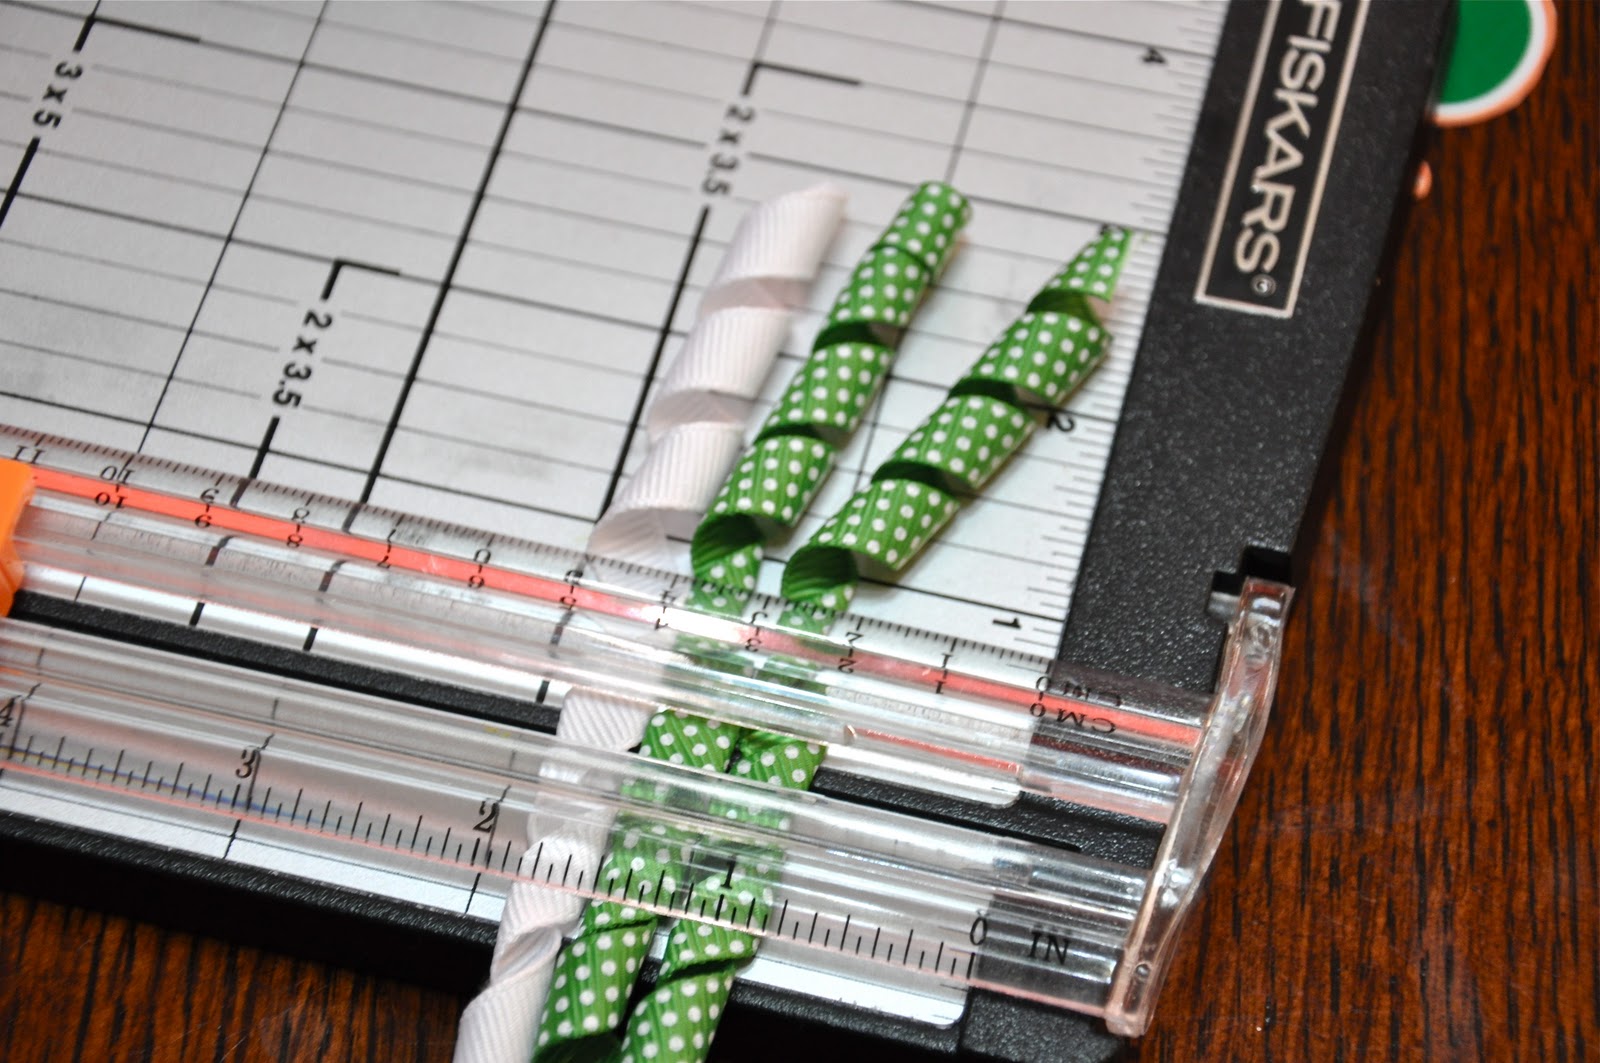
Cut your ribbon in 3 inch strips.  I used my paper cutter to measure and help hold them in place while I cut ribbon
Heat seal the ends of the ribbon by moving fire quickly over the ends. This will prevent fraying. 
Take a thick piece of thread/yarn place under the center of your ribbons and gather all your pieces tightly together. This can be a bit tricky so again I used my paper cutter to help hold them in place. 
Wrap the string tightly around your bow a few more times and tie a knot. There you have it.. A korker bow!

 Now for the Shrinky Dink fun! 

 I found this great Shamrock clip art here.
 http://www.leehansen.com/clipart/Holidays/StPatrick/pages/shamrock-orange-edge.htm
I loved the orange outline Because it gave me a line to cut on :)
Resize to 50% larger of your desired size. Print on InkJet Shrinky Dink paper. Cut out the clip art from your Shrinky Dink paper and follow the Shrinky Dink package instructions for baking and making your shamrock.

When the shamrock was shrunk I added a little bit of glitter. I love when I make something that can be glittered! {Though you can skip the glitter all together}
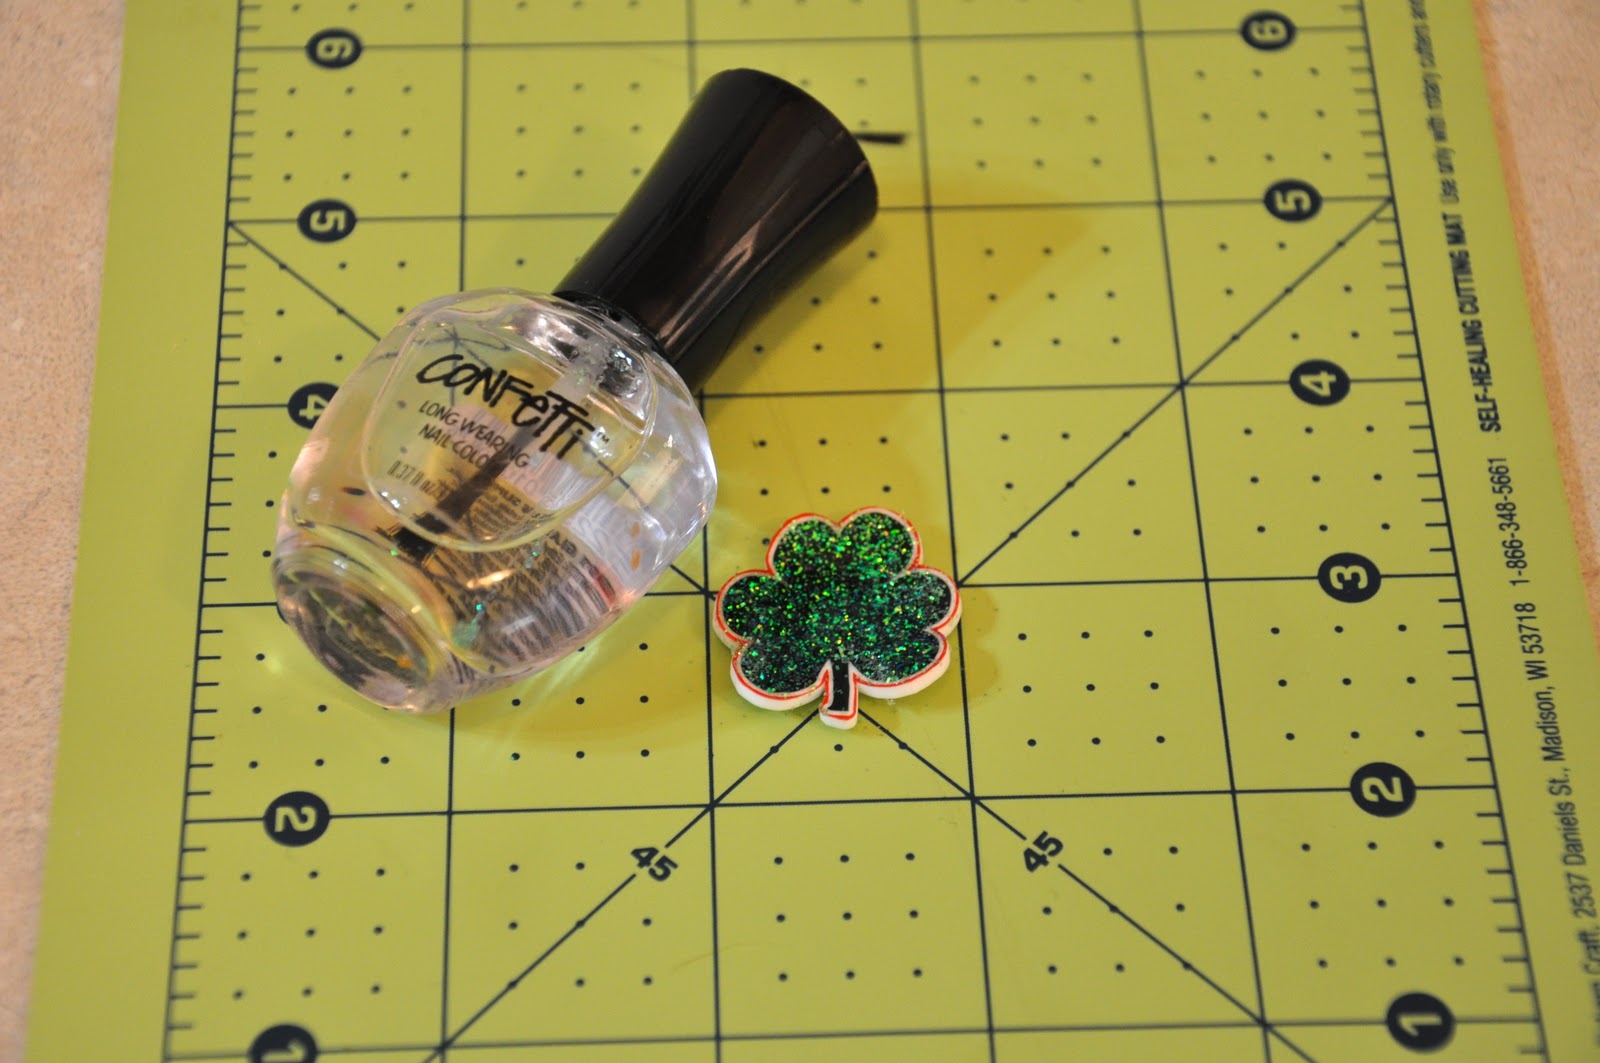
Seal the glitter with clear finger nail polish

Hot glue your shamrock and secure it to the Top. 
 Slip an alligator clip on the bottom under the string. {I personally do not like to line my clips with ribbon because they don't stay in as well.}

 There you have it! This hair pretty ensures NO PINCHING next week on St. Patty's day!
{Please leave me a comment and let me know what you think}

Monday, March 7, 2011

Mood Swings, Anyone?

Yesterday we spent the day at a local park.  We had a picnic, rode bikes, fed the ducks, played on the playground, and suffered a few CRAZY mood swings.  Here is a 3 yr old's progression from really happy to devil child.  

Complete meltdown in

10....

9....

8...

7...

6...

5...

4...

3...

2...

1.

Tuesday, March 1, 2011

Know What I Hate?

Do you know what I hate?  When my kids are sick.  

All parents do, right?  We have to!  Our main goal in parenthood is to keep our offspring alive, and hopefully turn them into functional adults.  But when one of my little guys comes down with something, it throws me into a crazy way-too-protective-sanitize-everything-google-every-symptom mom.  It's not pretty, people!

Last Wednesday, The Chief looked a little off when I picked him up from school.  He just looked sad.  He said his head hurt, he'd been suffering from a migraine for a few hours.  That went away, but he still had a headache on Thursday and Friday.  Friday he also had a fever.  So google fever + headache.  Not good!  I called the doctor on Saturday and he wanted The Chief to be seen.  Let me say now that my hubby totally thought I was over reacting.  

At the nearby urgent care, the doctor heard something funny in his lungs and said he was very dehydrated.  He had chest xrays and after three painful tries, had an IV put in for fluids.  The chest xray showed he has pneumonia in both lungs.  He never even coughed before Saturday!  He never showed cold symptoms or anything!  The weekend was very rough, with high fevers & dizziness and bad headaches.  I think he's finally on the mend and may be able to go back to school tomorrow.  


There aren't many things worse in our day-to-day lives than our kiddos getting sick.  But it does give us a little extra cuddle time on the couch, a chance to be brave in front of our kids, and a reason to really count our blessings when they are healthy!

LinkWithin

Related Posts with Thumbnails